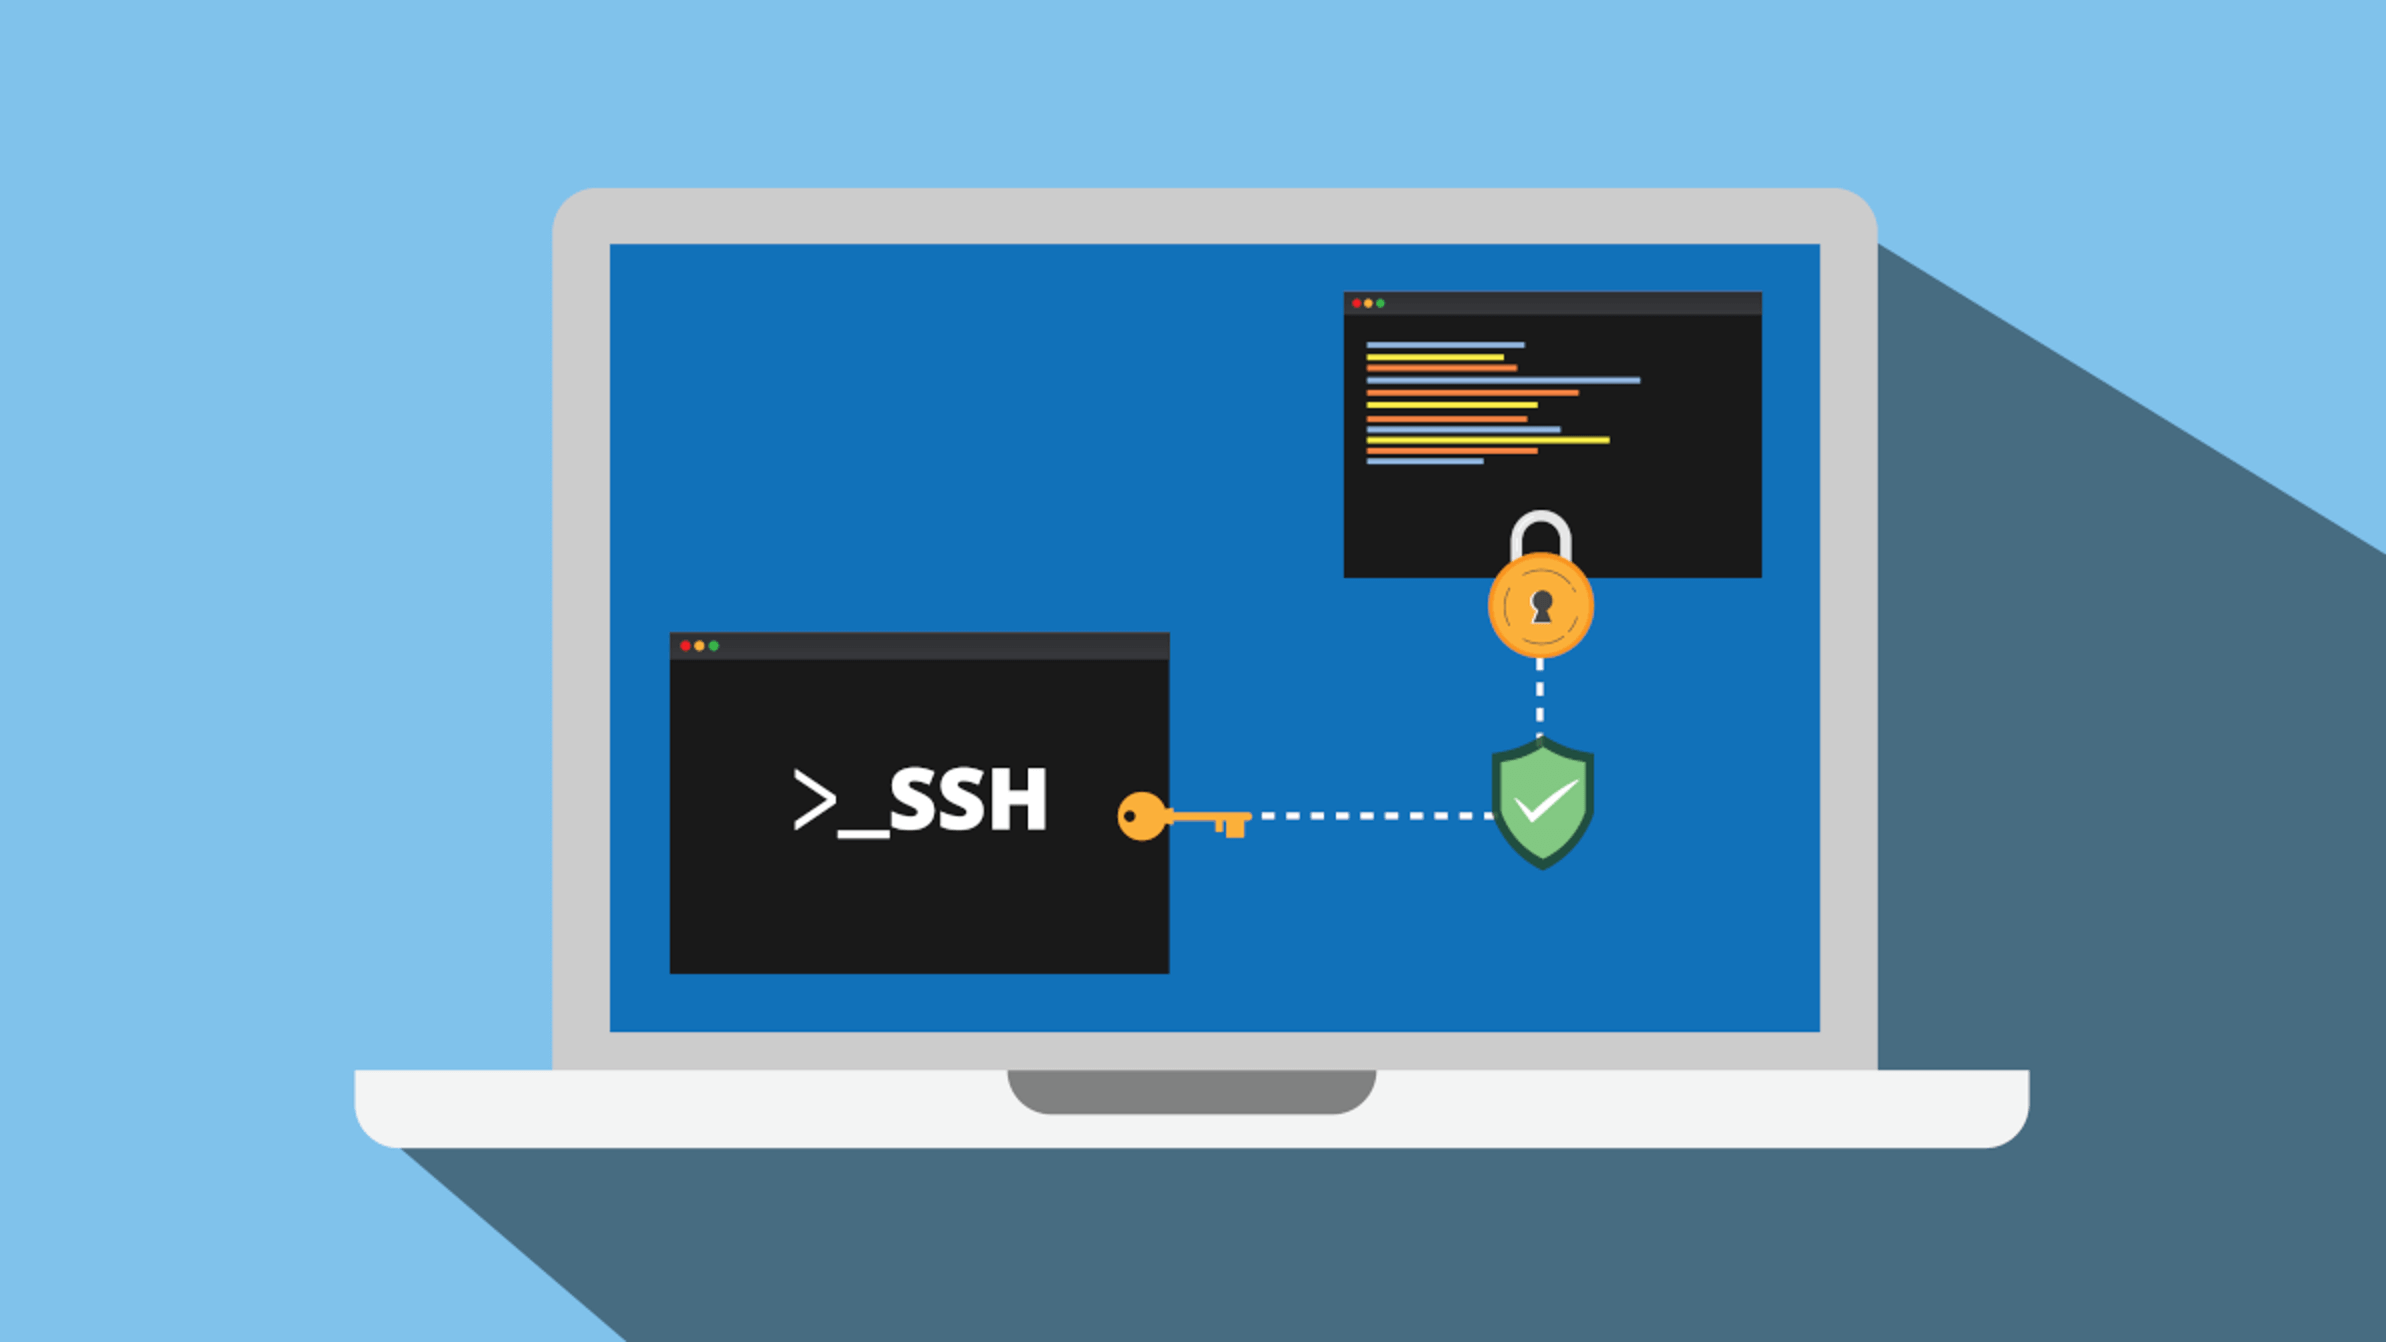
Easy SSH: Raspberry Pi Behind Firewall (Windows 10 Guide)
Ever felt locked out of your Raspberry Pi, stranded on the other side of a firewall? Gaining secure shell (SSH) access to your Raspberry Pi, even when it's nestled behind a firewall on a Windows 10 network, is not just possible, it's essential for remote projects, system administration, and unleashing the full potential of your tiny computer.
Imagine this: you've painstakingly set up your Raspberry Pi as a home automation hub, a personal cloud server, or a sophisticated sensor array. But you're away from home, and you need to access it. That firewall, designed to protect your network, now feels like an impenetrable barrier. This guide is your key to breaking down that barrier and establishing a secure, reliable SSH connection. We'll navigate the complexities of network address translation (NAT), port forwarding, and dynamic DNS, all while ensuring your Raspberry Pi remains safe and sound.
| Category | Details |
|---|---|
| Topic | SSH to Raspberry Pi Behind Firewall Windows 10 |
| Purpose | Enable Remote Access to Raspberry Pi |
| Operating System | Windows 10 (Host Machine) |
| Device | Raspberry Pi |
| Network Challenge | Firewall Blocking Direct SSH Access |
| Key Technologies | SSH, Port Forwarding, Dynamic DNS (DDNS), VPN (Optional) |
| Primary Goal | Establish a Secure and Reliable SSH Connection |
| Difficulty Level | Intermediate |
| Reference Website | Raspberry Pi Documentation |
Let's begin by acknowledging the problem. Typically, when your Raspberry Pi is on a local network protected by a router and firewall, its internal IP address (e.g., 192.168.1.100) is not directly accessible from the outside world. Your router assigns this internal IP and uses NAT to translate between your local network and the public internet. The firewall, by default, blocks incoming connections to protect your devices from unauthorized access. Therefore, to SSH into your Raspberry Pi from a Windows 10 machine outside your local network, you need to create a pathway through the firewall.
- Breaking Ari Melber Leaving Msnbc The Real Story Revealed
- Exploring Real Bullet Trump Hunter Biden Masafun Now
The first step involves configuring your Raspberry Pi for SSH. If you haven't already done so, you'll need to enable the SSH server. The easiest way to do this is by connecting a monitor, keyboard, and mouse to your Raspberry Pi. Boot up the Pi, open the terminal, and execute the following command:
sudo raspi-config
This command opens the Raspberry Pi configuration tool. Navigate to "Interfacing Options" and then select "SSH." Enable the SSH server and reboot your Raspberry Pi. Alternatively, for headless setup (without a monitor, keyboard, and mouse), you can enable SSH by placing an empty file named "ssh" (without any extension) in the root directory of the boot partition on the SD card. When the Raspberry Pi boots up, it will detect this file, enable SSH, and then delete the file.
- Hyungry Temporary Replacement Ep 3 What Fans Are Saying
- Sondra Erickson Sondra Blust Erome The Intriguing Mix
Once SSH is enabled on your Raspberry Pi, you need to determine its internal IP address. Open the terminal on your Raspberry Pi and type:
ifconfig
Look for the "inet" address under the "wlan0" interface (for Wi-Fi) or "eth0" interface (for Ethernet). This is the internal IP address you'll need for the next steps. Make a note of it.
Now, the crucial part: port forwarding. You'll need to access your router's configuration page. This usually involves typing your router's IP address into a web browser. Common router IP addresses are 192.168.1.1 or 192.168.0.1. If you're unsure, you can find your router's IP address by opening the command prompt in Windows 10 and typing:
ipconfig
Look for the "Default Gateway" entry. This is your router's IP address.
Once you're logged into your router's configuration page, look for a section called "Port Forwarding," "NAT Forwarding," or something similar. The exact wording will vary depending on your router's manufacturer. In the port forwarding section, you'll need to create a new rule that forwards external traffic on a specific port to your Raspberry Pi's internal IP address and port 22 (the default SSH port). Choose an external port number ideally, something other than 22 for security reasons. A high-numbered port like 2222 or 50000 is generally a good choice. For example, you might configure port forwarding to forward external port 2222 to your Raspberry Pi's internal IP address (e.g., 192.168.1.100) on port 22.
It's absolutely critical to choose a strong password for your Raspberry Pi's default user "pi." Open the terminal on your Raspberry Pi and type:
sudo passwd pi
Follow the prompts to set a new, secure password. Also, consider creating a new user with sudo privileges and disabling the default "pi" user for enhanced security. This is a significant step in protecting your Raspberry Pi from unauthorized access.
Most home internet connections use dynamic IP addresses, meaning your public IP address (the one assigned to your router by your internet service provider) can change periodically. This presents a problem because you need to know your public IP address to connect to your Raspberry Pi. Dynamic DNS (DDNS) services solve this issue. DDNS services provide a hostname (e.g., myraspberrypi.example.com) that always points to your current public IP address, even if it changes. Several DDNS providers offer free or paid services. Popular choices include No-IP, DynDNS, and Duck DNS. Choose a DDNS provider and create an account.
After setting up your DDNS account, you'll need to configure your router or your Raspberry Pi to update the DDNS service with your current public IP address. Many routers have built-in DDNS support, allowing you to enter your DDNS credentials directly into the router's configuration page. If your router doesn't support DDNS, you can install a DDNS client on your Raspberry Pi. Several DDNS clients are available for Linux, including ddclient and inadyn. Follow the instructions provided by your DDNS provider to configure the client.
With port forwarding and DDNS set up, you're almost ready to connect. On your Windows 10 machine, you'll need an SSH client. PuTTY is a popular, free, and open-source SSH client. Download and install PuTTY.
Open PuTTY and enter the hostname provided by your DDNS service (e.g., myraspberrypi.example.com) in the "Hostname (or IP address)" field. In the "Port" field, enter the external port number you configured in your router's port forwarding rule (e.g., 2222). Select "SSH" as the connection type and click "Open."
If everything is configured correctly, PuTTY will prompt you for your Raspberry Pi's username and password. Enter your credentials, and you should be successfully logged into your Raspberry Pi via SSH.
While port forwarding and DDNS are common methods, they can introduce security risks if not configured carefully. An alternative, and often more secure, approach is to use a Virtual Private Network (VPN). A VPN creates an encrypted tunnel between your Windows 10 machine and your home network, allowing you to access your Raspberry Pi as if you were on the same local network.
Setting up a VPN typically involves installing VPN server software on your home router or on the Raspberry Pi itself. Several VPN server options are available, including OpenVPN and WireGuard. Once the VPN server is configured, you can install a VPN client on your Windows 10 machine and connect to your home network. Once connected, you can SSH directly to your Raspberry Pi's internal IP address without needing port forwarding or DDNS.
The security of your SSH connection depends on several factors. Always use strong passwords for your Raspberry Pi and any other services running on it. Consider using SSH keys instead of passwords for authentication. SSH keys are more secure than passwords because they are much harder to crack. To use SSH keys, you'll need to generate a key pair on your Windows 10 machine using a tool like PuTTYgen and then copy the public key to your Raspberry Pi's ~/.ssh/authorized_keys file.
Regularly update your Raspberry Pi's operating system and software to patch any security vulnerabilities. Keep your router's firmware up to date as well. Consider using a firewall on your Raspberry Pi to further restrict access to services running on it. Fail2ban is a popular tool that automatically bans IP addresses that make too many failed login attempts.
In addition to changing the default SSH port, you can further enhance security by disabling password authentication altogether and relying solely on SSH keys. This prevents attackers from trying to brute-force your password. To disable password authentication, edit the SSH server configuration file:
sudo nano /etc/ssh/sshd_config
Find the line that says "PasswordAuthentication yes" and change it to "PasswordAuthentication no." Save the file and restart the SSH server:
sudo systemctl restart ssh
Before disabling password authentication, make sure you have successfully configured SSH key authentication and can log in to your Raspberry Pi using SSH keys. Otherwise, you might lock yourself out.
Monitoring your Raspberry Pi's SSH logs can help you detect and respond to suspicious activity. The SSH logs are typically located in /var/log/auth.log. You can use tools like grep and awk to search for specific events, such as failed login attempts or successful logins from unfamiliar IP addresses.
Consider using two-factor authentication (2FA) for SSH access. 2FA adds an extra layer of security by requiring a second authentication factor, such as a code generated by a mobile app, in addition to your password or SSH key. Several 2FA solutions are available for Linux, including Google Authenticator and Authy.
Connecting to your Raspberry Pi behind a firewall from Windows 10 might seem daunting, but with careful planning and the right tools, it's entirely achievable. By understanding the principles of port forwarding, DDNS, and VPNs, and by implementing robust security measures, you can unlock the full potential of your Raspberry Pi while keeping it safe and secure. This guide has walked you through the essential steps to establish a reliable and secure SSH connection, empowering you to access your Raspberry Pi from anywhere in the world. Remember to prioritize security, stay vigilant, and enjoy the power of remote access.
- Kirby Yates Stats Career Highlights Dodgers Future
- Steamy Flicks The Sexiest Movies Streaming Now You Wont Believe It

How To Use SSH Raspberry Pi Behind Firewall On Windows A Comprehensive

How to SSH Into a Raspberry Pi?
How To SSH Into A Raspberry Pi Behind A Firewall Using Port Forwarding
